Showing posts with label Wild Card. Show all posts

Tuesday, April 23, 2013

#115 for Try Stampin' on Tuesday

It's Tuesday and we have an awesome sketch for you today - #115 at Try Stampin' on Tuesday

I am still trying really hard to clear it out and use what I have on hand
And I really needed to make this card sample quick and keeping it simple for my post
This is what I came up for my card this week..

 
I really like how it turned out - below is the sketch
 

4-1/4" x 5-1/2" stamped up piece of cardstock with this wedding background message from CTMH
I decided to cut a 3" circle out of this piece using my Cricut-George & Basic Shape cartridge
I dug through a box of cut Cricut images that I just have not used and found the Bride/Groom
Bride/Groom was 2-1/2" Real Dial size from the Wild Card cartridge
Banner and layers of paper all from my stash
Pattern paper from 6 x 6 paper pad - Memory Box - Viola
To finish the card - I used some jumbo lavender brads from my stash

Make sure to check the rest of the Design Teams creations/inspiration on the blog
I sure hope you will have a chance to join us and share what you have made

Thanks for stopping by today - Catch the Frenzy! - Karen

Monday, July 23, 2012

Challenge Me Monday

This week at Fantabulous Cricut the Design Team members on Team A
are sharing their inspiration for Challenge #121 - Wedding Bliss.

Make a project for a special couple, (Wedding or Anniversary).
Use at least one (1) Cricut cut on your project.
And remember to list on your blog the cartridge(s) used.

I have to admit, I do not have many cartridges with Wedding images.
I did find an image in the Wild Card Cartridge.
Page 63 <Cake) using the Icon feature, cut at 3-1/2".

I was able to create a simple, but elegant card with this image.
I love Red, Black and White together.


I also used George & Basic Shapes cartridge, page 108 circle. 
White circle cut at 4"  and the Black with white polka dots cut at 1-1/2"
Sentiment is from Close to my Heart.
All other supplies were from my stash.

I hope you will be able to play along with us this week at FCCB
Challenge begins on Monday, July 23 and runs through Midnight (Mountain Time), July 29
Have a great week.

Catch the Frenzy! - Karen

Sunday, February 5, 2012

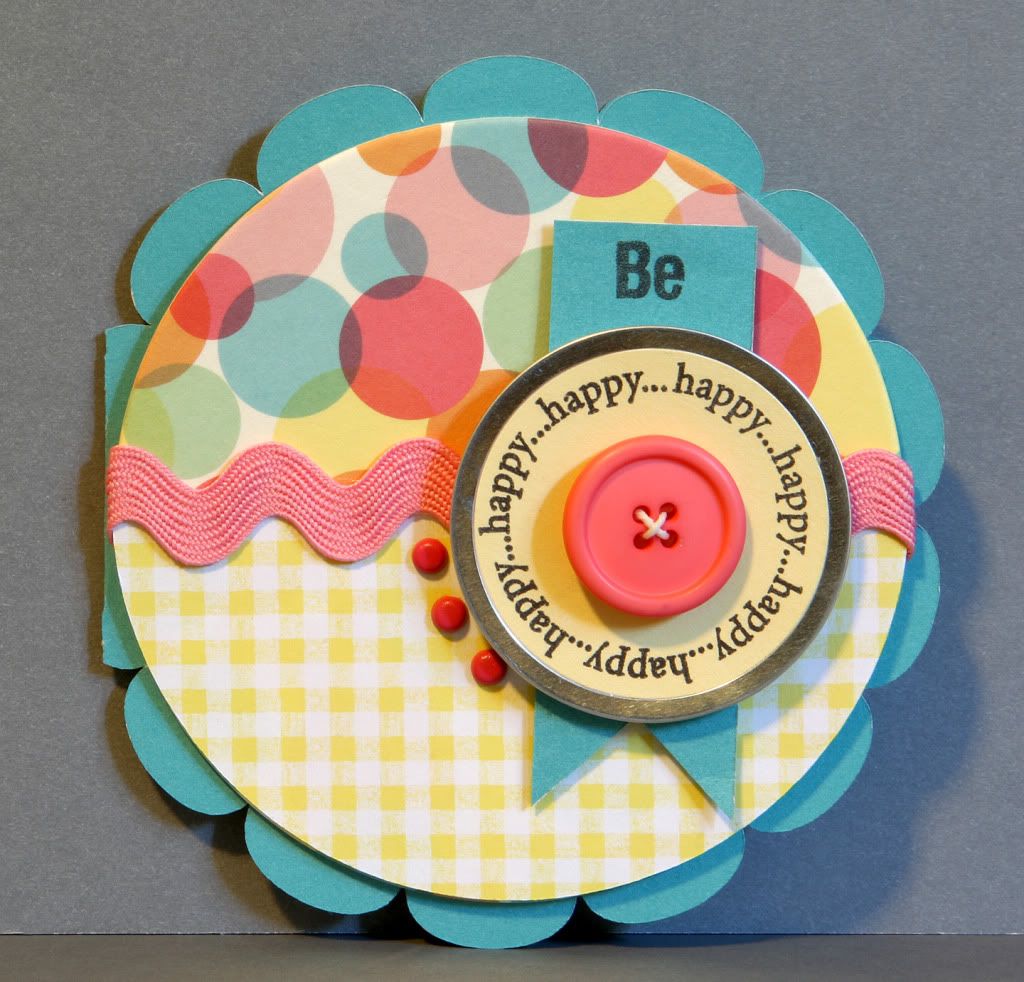
Be Happy

I am really drawn to bright colors, so when I saw a package of paper coasters by Martha Stewart Crafts with bright Pinks, Yellows and Teals I just knew I needed to purchase them. There were 12 in the package on sale at Michael's 40% off. I love making round cards as well, so needless to say, when I saw the weekly challenge at Mojo Monday I knew I was going to somehow use these paper coasters.  Here's my creation based on the challenge below.  I am also teaching a class on Monday night with some close friends, I think they are going to like this card and I hope you will too.


To make this card:

5" x 5" Teal colored cardstock for base of card
4" paper coaster or other pattern paper
Half of a 4" circle in coordinating paper
1" x 3" Teal cardstock
1-3/4" Yellow cardstock circle
(All my paper from Close to My Heart)


Cartridges used:

Wild Card page 52 <Doily> cut at 4-1/2" using the blackout feature

To complete this card:

After cutting the base of the card adhere the half circle pattern paper over the coaster.  Next I attached Pink ric rac with adhesive in the center, covering the edge of the pattern half circle.  Tuck the ric rac behind the coaster.  I stamped the Happy... message on the Yellow cardstock and then punched it out using the 1-3/4" circle punch. Adhere this piece to the round metal tag.  For the Teal tag, I used a 1" square punch to make the banner, stamped the Be message at the top.  Before you adhere all pieces together, make sure to mark the location for the brads with a light pencil mark.  I used a piercing tool so it would easily go through the coaster.  Add a button in the center of the metal tag.  Adhere all pieces together working back to front as shown in the photo.

Catch the Frenzy!

Sunday, January 15, 2012

So Grateful

What a great day to be inside making cards, as it's snowing in the Pacific Northwest. We now have about 3-4 inches of snow on the ground. I think snow is just magical and beautiful. My card today is a masculine card, which can be a challenge at time's. I do not have very many Cricut cartridges with masculine images, however I have raised two sons, so making masculine cards have always been a part of my card making creations. I was pretty excited to find on the Cricut Sampler, page 53 the trees using the bonus feature. Keeping in mind one of my resolutions for this year, use what I already have on hand, I found some wonderful plaid paper, wooden buttons and fibers to use for the card. I am entering this card in the Fantabulous Cricut Challenge Blog, Challenge Me Monday, #93.
For this card cut as follows...
Base of card:
Green - 8" x 7" fold in half to make a 3-1/2" x 8" card
Plaid - 5-1/2" x 3-1/2"
Cricut cuts - cardstock:
Cricut Sampler - page 59 <Trees> - 2-1/2"
Bonus feature
Inside of card:
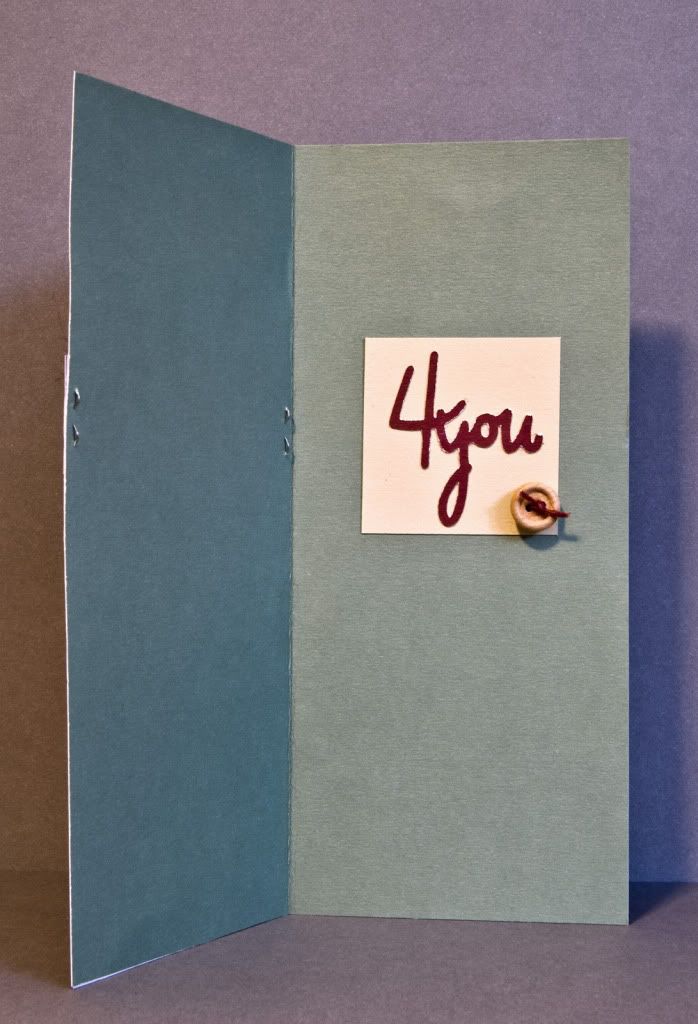
Wild Card - page 46 <AllInOne> - 2"
Phrase feature
Other cuts:
2-3/4" square cream CS
2" square cream CS for the inside of the card
1 3/4" x 1" cream CS for message "So Grateful" or other message of choice
3" square dark green CS
1" square vineyard berry CS - cut into 2 triangles for upper corner
3-1/2" x 1" vineyard berry CS        

To complete the card...
  • Layer all pieces, working back to front as shown in the photo.
  • I used staples to anchor the 3-1/2" x 1" vineyard CS to the card base.
  • A fab element I like to use when creating masculine cards or layouts.
  • After layering the 3 square pieces, wrap the fibers around the bottom portion before adhering to the card base.
  • Adhere the message under the square pieces, just enough to have message peeking out.
  • Adhere the 4You to the 2" square cream CS for the inside.
  • Add fibers to the wooden tree and 3 round buttons.
  • Place as shown in the photo.

Catch the Frenzy!
Related Posts Plugin for WordPress, Blogger...